How to Hang Wallpaper: A DIY Guide With 6 Simple Steps
Knowing how to hang wallpaper might sound like a job best left to the pros, but with some patience and attention to detail.
“Wallpaper is incredibly transformative—it’s having a moment and the styles have flourished in so many amazing directions”
If you’re new to hanging wallpaper, she suggests starting with a small spot, like a windowless accent wall in a foyer or bedroom, the back wall of a closet, or the back of a bookshelf. Ready to start researching fresh new wallpaper designs? Here’s what to know before you dive in.


How to install wallpaper yourself
The most important thing is having a solid plan ahead of time.
“Wallpaper installation is all about preparation, knowledge, and execution—just like anything in life,”.
The following instructions are for non-woven (also called “paste the wall”) wallpaper, which is the most beginner-friendly type of wallpaper.
“Non-woven wallpaper is the easiest to install, doesn’t expand or contract and looks virtually seamless,”
Other types of wallpaper are peel-and-stick, which tends to be less durable but has the benefit of easy removal (which can be helpful if you rent your home); woven wallpaper (also known as “paste the paper”), which must be first soaked in adhesive; and natural fiber grasscloth wallpapers, like jute and sisal, which can be trickier to install as their surfaces can’t be wiped down.

1. Prep the walls
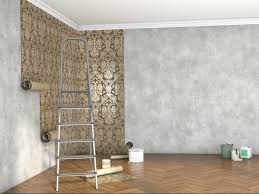
Before you put in the work installing wallpaper, you’ll want to be sure it’s going to adhere well. Depending on the condition of your surface, this may involve painting over a dark color that could show through the wallpaper, sanding down any lumps of old paint, and filling nail holes with spackle.
If you paint, you should give the fresh coat three to four weeks to fully set. Before hanging wallpaper, some people also choose to add a coat of wallpaper primer (also called sizing), which is an acrylic-based liquid that helps make your paper stick more easily and also makes the removal process go more smoothly. (Depending on the manufacturer’s instructions, wallpaper primer should only take a day or two to dry.)
You’ll also want to remove all light switch and outlet faceplates. Cover the sockets with painter’s tape so glue doesn’t seep in. Hunt offers a key safety tip. “You should always turn off the power before you install wallpaper, since you’ll need to cut carefully around these spots with a metal blade,” she says.
2. Add a plumb line
Use a pencil and a straight edge or spirit level to make a vertical straight line (also known as a plumb line) down your wall (to the baseboard) to delineate where the first panel will go. If your design does not have a clear focal point that you would want to center on the wall, start on the left side and move toward the right. It helps to make several plumb lines across the wall, so you can ensure your wallpaper stays consistently straight.
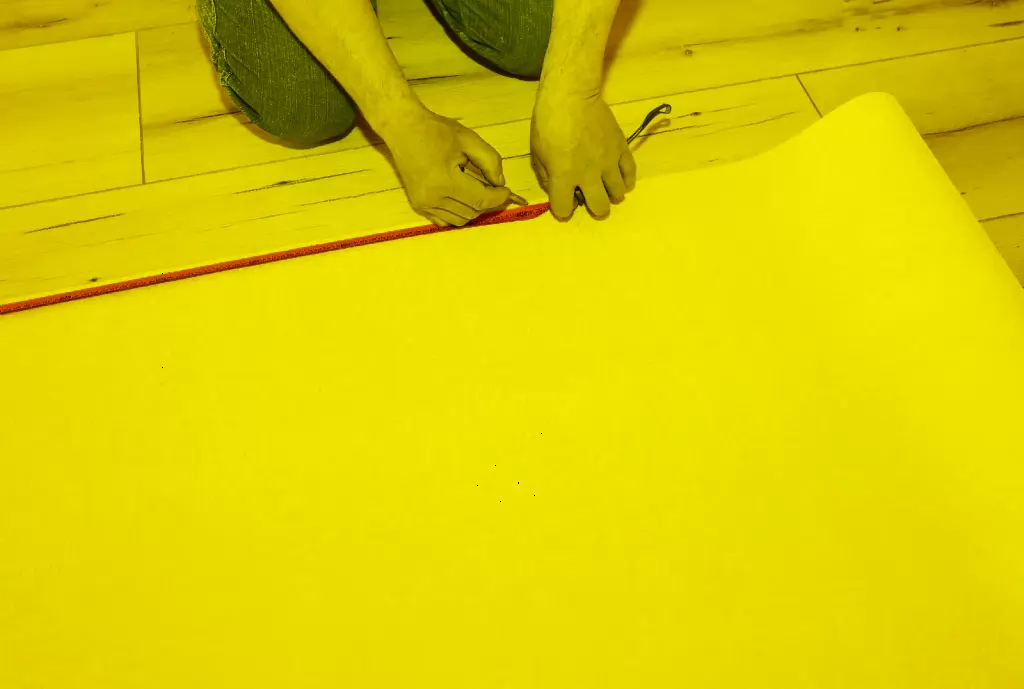
Measure the wall and add three inches to both top and bottom to allow for trimming. You’ll paste the paper on at this size and then trim the excess.
3. Measure and cut your wallpaper
4. Apply paste and wallpaper
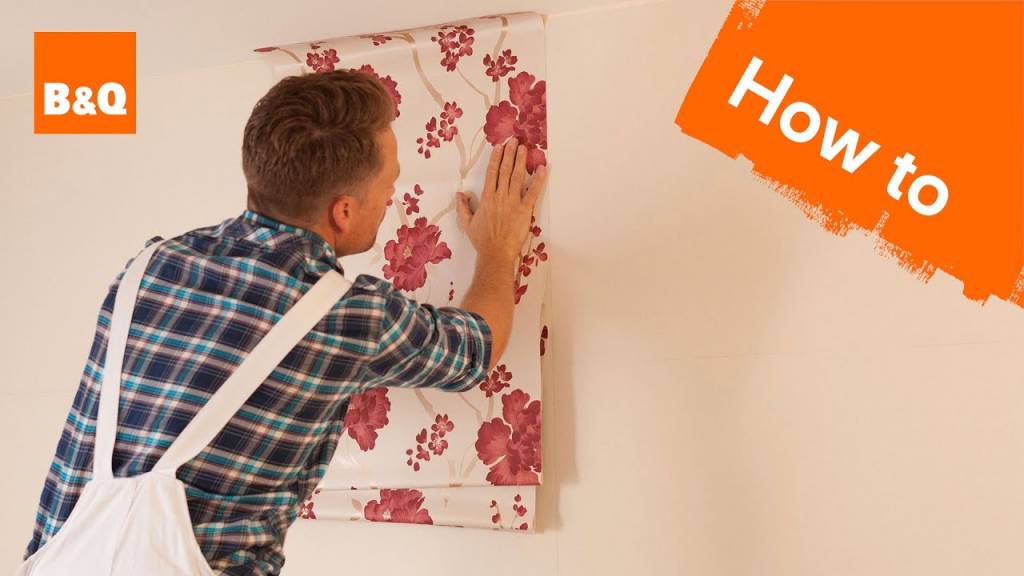
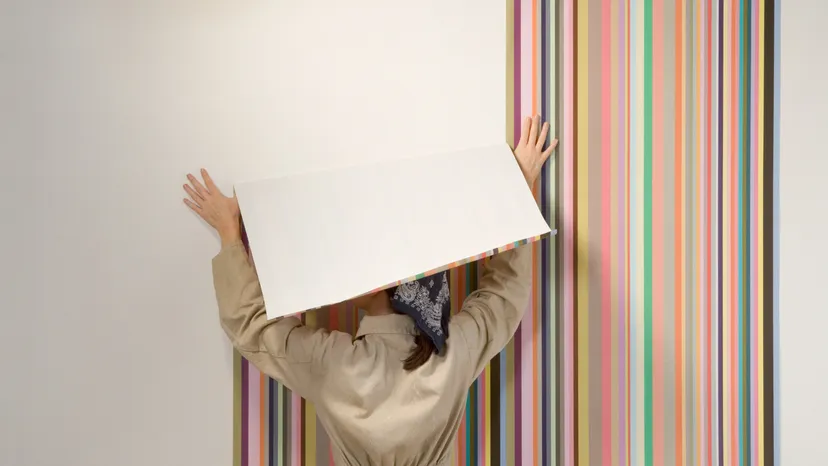
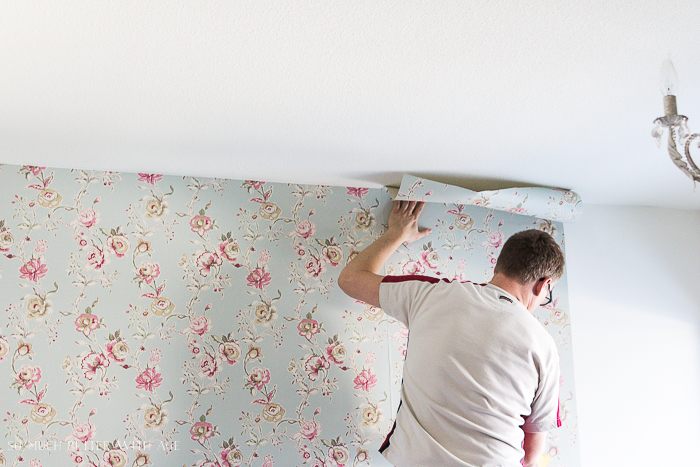
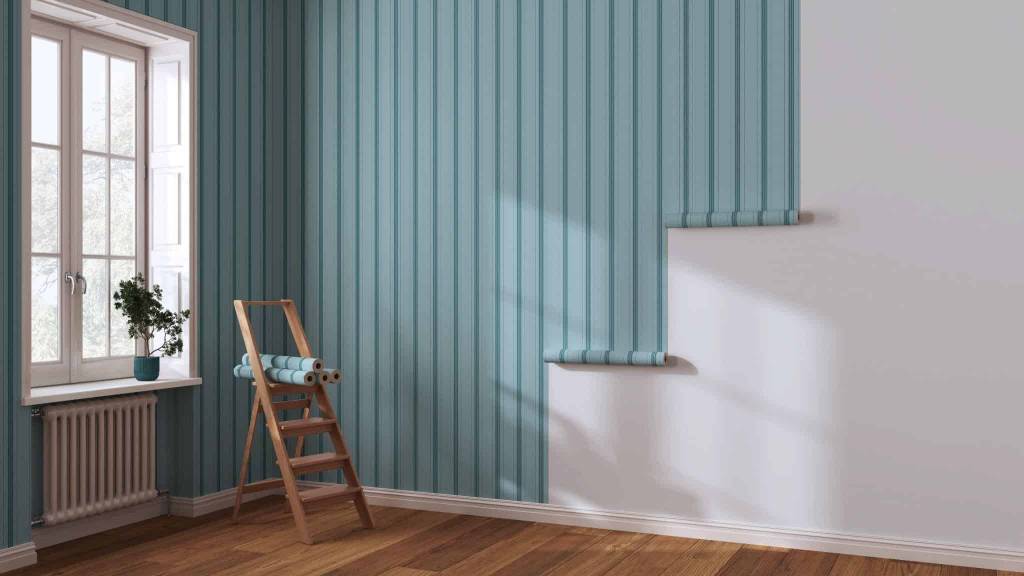
Use a roller or brush to apply an even coat of paste to the wall, being careful to add the adhesive just beyond where the paper’s edge will land. Hang the first strip of wallpaper and remove air bubbles with the smoothing tool, working from the center out to the edge of the paper. Move to the next panel: When you apply paste for the next panel, let it overlap slightly onto the edge of the panel that’s already on the wall (this will help soften the seams so the two strips blend together). Place the wallpaper over the light switch and electrical outlet sockets, being careful not to apply any paste near them; you’ll come back to them later.
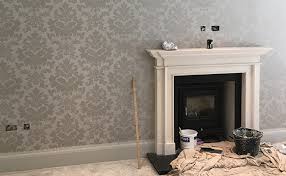
As you add panels, align the edges and use a wallpaper brush to tap them gently where the seams meet to help hide the border (you can also use a seam roller to do this). As you work, use a damp sponge or microfiber cloth dipped in warm water to remove any excess paste and flatten out air bubbles.
5. Trim the edges

With the taping knife as a guide, use the breakaway knife to trim the excess paper from the top and bottom; wait until the paste dries since it will be stiffer and easier to cut. As you trim, change the knife blades frequently to avoid jagged edges.
6. Cut around electrical outlets and light switches
Always work slowly and carefully in these areas so you don’t rip the paper. Use the breakaway knife to gently make two vertical cuts on either side of the plug (or light switch). Then use scissors to make a single horizontal cut in the middle of the plug area (put your finger underneath to pull the paper away and make it easier to cut). You will be left with a top and bottom flap; use the scissors to cut off each flap. Snip around the bottom of the plug where the screw goes in, then
reattach the outlet cover.
FAQ: What to know about installing wallpaper
Where on the wall do you start wallpapering?
If your wallpaper does not have a main focal point, start at the left corner of the wall and move toward the right. If you do have a central design element, you’ll want to center that in the middle of the wall and move outwards. “It can be helpful to cut and lay out the panels on the floor in advance so you can get a sense for the design and ensure you haven’t cut off any critical elements from the top or bottom,” Hunt says.
How long do you leave paste on wallpaper before hanging?
You only need to soak your wallpaper in paste if you’re using a “paste the paper” wall covering (also called woven wallpaper), which Hunt doesn’t recommend for novice DIY installers. This requires letting the wallpaper “book,” usually for two to five minutes (depending on the manufacturer’s instructions) so it can absorb the paste and expand.
What are pattern matches and design repeats?
The term pattern match simply refers to where the patterns line up at the seams of the wallpaper strips. Wallpaper with a random match is the easiest to install because the strips will always line up when placed together. Other types, such as drop match and straight match, will require you to carefully cut strips to align the patterns and you’ll want to order extra paper to account for this. The Wallcoverings Association has a helpful guide explaining the different types of pattern matches.