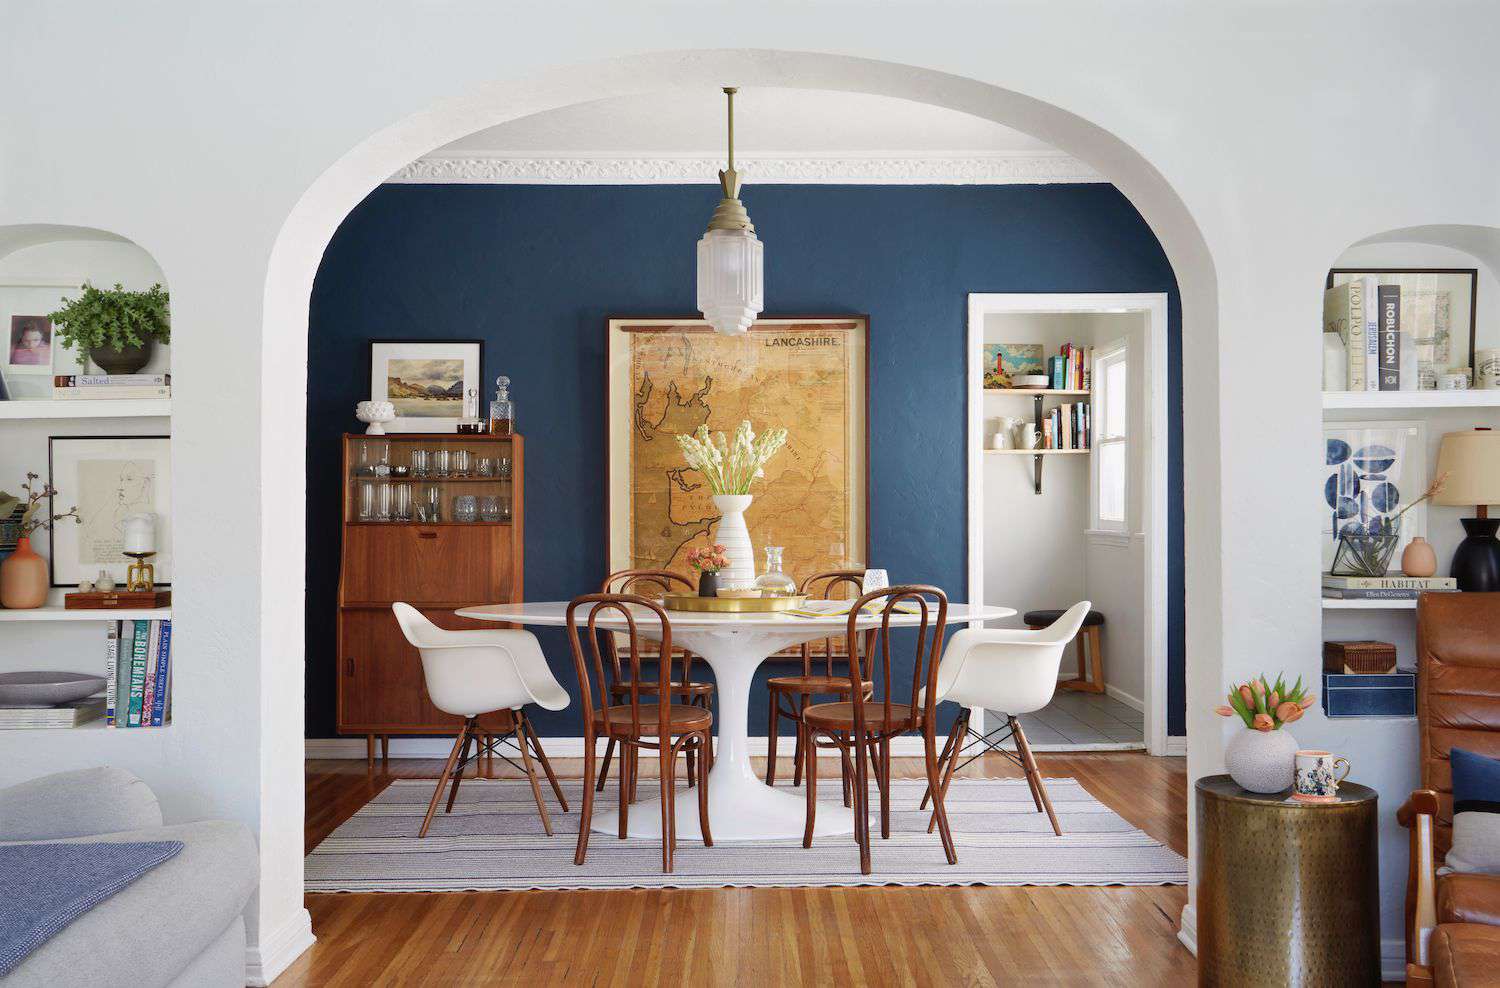
Interior painting can transform any room in your home. It’s an easy way to give a space a quick yet impactful makeover. Our experts walk you through step-by-step how to paint any space.
6 Painting Mistakes You Might Be Making
When painting your home’s interior, avoid these common pitfalls for a smooth application.
A fresh coat of paint is one of the easiest ways to completely transform a space. And aside from the aesthetic boost, a solid interior paint job can increase your property value, keep your walls cleaner, and prevent unwanted moisture. But as much as we love a paint transformation, it’s not always the easiest DIY job to tackle, especially if you’re a beginner.
We turned to the experts to learn the most common painting mistakes and how to avoid them for a flawless finish, every time. Fine-tuning your painting technique will leave you with a clean, fresh canvas to decorate around without needing to work overtime to remove paint stains or fix patchy spots. Ahead of your next paint project, consider these tips from leading paint experts to transform your spaces with skill and confidence.
1. Not Cleaning Your Walls First
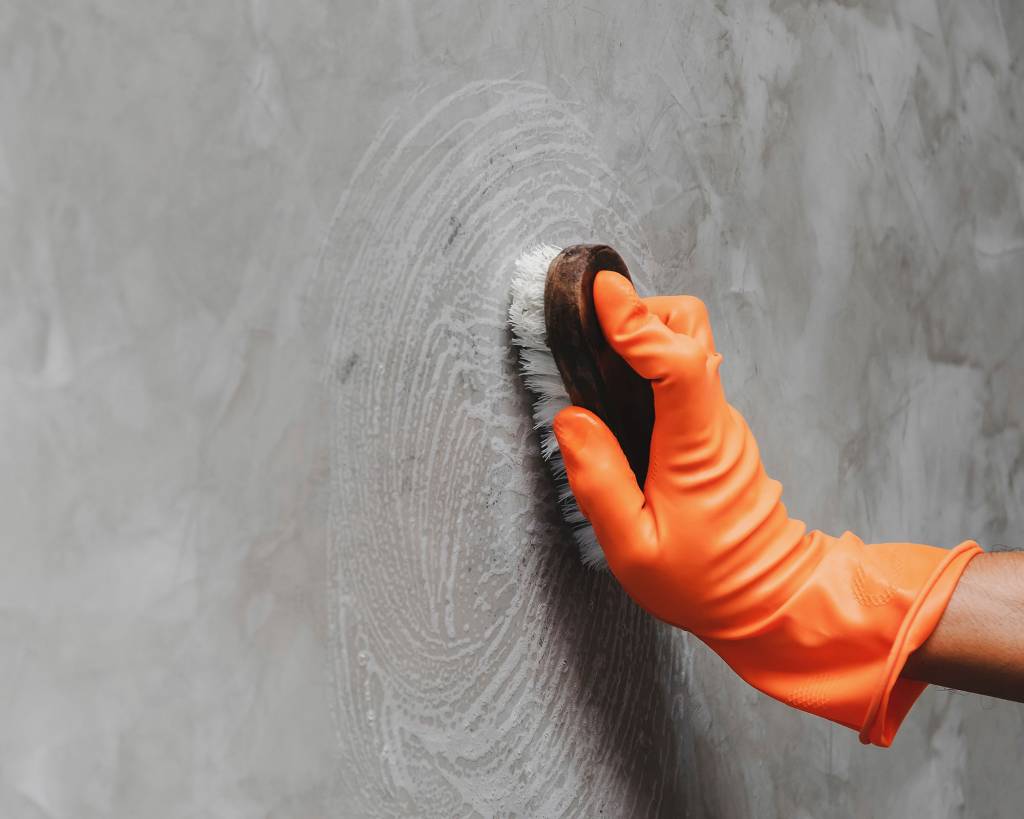
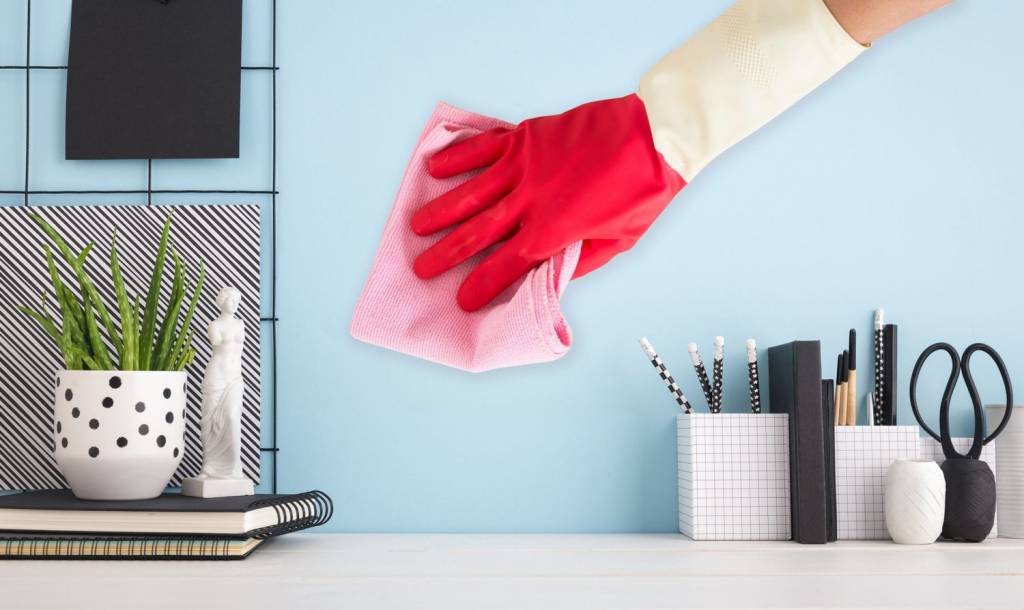
“Clean your surface so it is free of dirt, grease, and other buildup—this is a problem in kitchens particularly—that might interfere with paint adhesion,” says Tom Hill, president of C2 Paint. If you’re tempted to skip this step, know that dust, hair, and any tiny particles may peek through your final coat and ruin the smooth, sleek look you’re going for. For easy prevention, start with a dry sweep using a vacuum brush attachment or duster. Next, use warm, soapy water with a sponge or cloth to wipe down your walls. Be sure to clean tiny nooks and crannies, too, like the intersections of your crown molding and baseboards.
2. Not Prepping Your Room
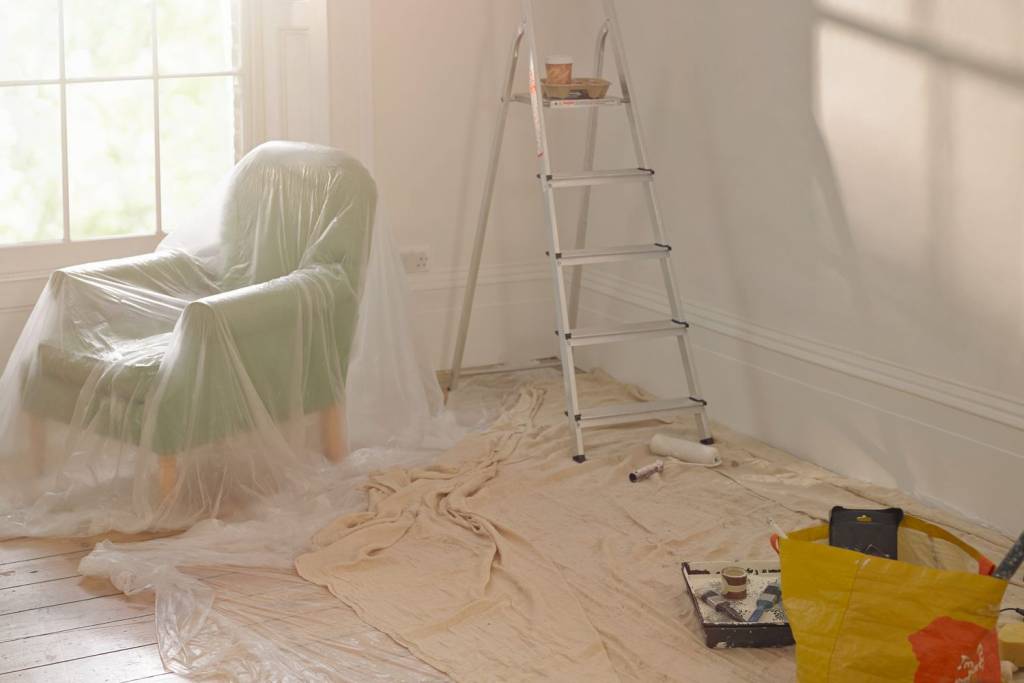

Ample prep will significantly reduce your cleanup time at the end of the paint job by preventing drips and splatter as you go. To start, cover your floors and furniture with drop cloths or clear out the entire room if you’re tight on space. And for an extra clean finish, remove your outlet and switch covers (just be sure your power is off at the breaker). When painting interior doors, wrap your door knobs with plastic and painters tape. Finally, scan your spaces for imperfections. “Make sure to fix any holes and sand any patches so your surface is smooth,” Hill says. “After sanding, wipe down the surfaces with a tack cloth or damp rag to remove dust.”
3. Choosing the Wrong Paint Finish


Another common mistake is picking the wrong kind of paint. Before heading to the paint store, consider quality, sheen, and color for the specific surface you want to cover. Hill advises against using a flat finish meant for ceilings to paint your walls, since flat paint has little to no durability, is highly prone to scuffs and stains, and can’t be touched up like a satin or eggshell sheen can. This is why professionals typically recommend using a semi-gloss or gloss for doors, trims, and baseboards and reserving sheens like satin or eggshell for walls.
However, your inner decorator may unleash a non-traditional approach. If you’ve been eyeing those formal parlors saturated in a glossy vibrant hue or dining rooms outfitted with a shiny white ceiling, you’re not alone. This design approach can elevate your space if executed with the right color and in the right location. If you’re unsure how to align a bold paint choice with your creative vision, it can be helpful to consult with a professional designer or research example photos online for inspiration.
4. Not Sampling Your Color Choice


Hill says the most important step to any paint job is to invest in high-quality paint and sample your color choice before committing. This will prevent multiple coats or future repaints. Hill says it’s not uncommon for many people to choose the wrong color, so he suggests observing your paint sample in real-time (during the day and night) to finalize the right pick. “Also, consider the natural lighting and overall “temperature” of the room, cool or warm, when choosing your color,” he adds. And since almost every paint brand on the market now offers either traditional or peel-and-stick samples, taking this step ahead of paint day will save you time and money in the long run.
5. Using the Wrong Tools


You can easily end up with a patchy-looking paint job (even with high-quality paint) if you don’t invest in the right brushes and rollers. “Cheap, low-quality rollers and brushes don’t distribute the paint evenly and can shed,” Hill says. “A high-density foam roller can also help achieve a smooth finish without brush strokes. You can also try using a paint conditioner like Floetrol to minimize brush strokes.”
It’s also best to determine if using a primer first is necessary. “If the surface of your wall has a lot of patches and fillings, it’s a good idea to prime the wall before painting,” Hill says. “Many paints are labeled ‘paint and primer’ but are only effective when applied on a uniform substrate.”
Hill explains that inconsistencies on the surface you’re painting can cause imperfections in your paint job. “In that case, it should be primed first,” he says. “Areas filled with spackling are more absorbent, so that should be evened out.”
6. Poor Painting Technique
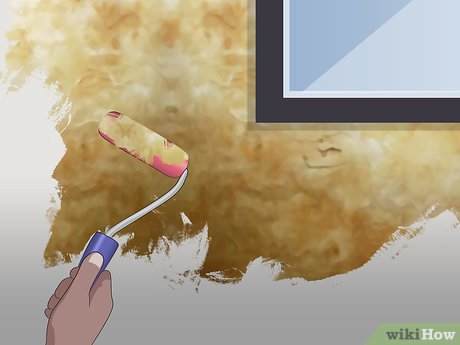

The process and direction of your painting technique will also sway your final result. “Always paint walls from the top down, not the bottom up,” Hill says. This technique allows gravity to work with you, because if you drip paint, you can paint right over it. Also, some paints are better at leveling (which means you won’t see the brush marks), and this is more likely to happen if you brush up rather than down. Hill also suggests framing everything with a brush first to line the perimeters of your doors, windows, and additional architectural elements.
The type of paint will also influence the technique you need to use. “If you are using latex paint, be careful not to overwork,” Hill says. “Quality latex paint will level on its own. If you brush it out and see the brush marks and then brush it again, you are embedding brush marks, whereas if you left it alone, it would level on its own.”
He also recommends staying patient. “Give ample time for each coat of paint to dry to avoid smudges and fingerprints, and check the paint can for recommended drying times. Also, make sure you have good lighting when you are painting to catch any drips or uneven areas.”


